
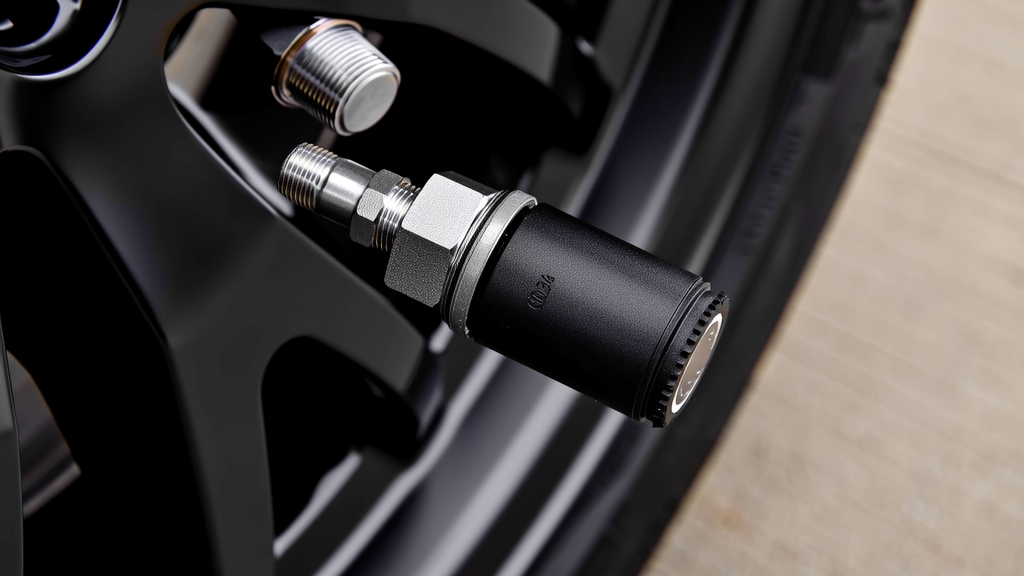
How the MURCIELAGO TPMS Actually Works
This is a direct system: four battery-powered transmitters mounted on the valve stems broadcast pressure, temperature, a unique ID and a status flag over the 433 MHz band. A receiver picks up those packets and passes them to the body/instrument electronics, which decides whether to light the lamp.
Two things follow from that architecture, and they explain almost every fault you’ll chase:
- The sensor battery is potted inside the housing and is not serviceable. When it dies, the sensor is scrap.
- The cluster cannot tell the difference between “tyre is flat” and “sensor has gone silent.” Both produce the same warning. That’s why you diagnose in order instead of guessing.
On a car of this age, most original sensors are well past their typical 7–10 year service window, so a dead battery is statistically the most likely single cause of a light with correct pressures.
Cause 1: Pressure and Temperature (Check First — 2 Minutes)
Before anything electronic, put a proper gauge on all four corners. TPMS thresholds are temperature-sensitive: a cold morning can drop indicated pressure enough to trigger the lamp on a car that was fine the day before. On a low-mileage supercar that sits for weeks, slow leaks past old valve seals and bead seating are common.
If all four tyres are at spec and the lamp stays on, you have moved to the sensor side of the system. Note the pressures anyway — a sensor reporting 0 psi when the tyre holds 32 psi is useful evidence.
Cause 2: Dead Sensor Battery Symptoms
| Symptom | What it usually means | Quick test |
|---|---|---|
| Solid lamp after start, all pressures correct | One or more sensors silent | Trigger each sensor at the valve with a TPMS tool |
| Sensor only responds when the tool is almost touching the wheel | Failing transmitter / weak battery | Replace the sensor |
| Pressure value frozen at one number for days | Sensor locked up, not transmitting fresh data | Compare live data over two drive cycles |
| Reading drops out after 20–30 minutes of driving | Battery fading under load/heat | Log live data on a long drive |
| One wheel always missing, other three fine | That sensor, or its path to the receiver | Swap the suspect sensor to another wheel and re-test |
| All four missing | Receiver, antenna, wiring — or interference | Go to Cause 3 before buying parts |
Killing a sensor is a one-way trip: there is no battery replacement procedure, and opening the housing destroys the seal and the calibration. Replace, don’t repair.
Cause 3: Signal Interference Diagnosis
433 MHz is a shared band. Key fobs, gate and barrier openers, tyre-shop programming equipment and — most commonly — cheap aftermarket electronics all sit near it. Poorly shielded USB chargers and dashcam hardwire kits are repeat offenders because their switch-mode supplies spray broadband noise right across the TPMS band.
Work through it methodically:
- Is the fault location-specific? If the lamp appears in the same car park, garage or street every time, you have external interference, not a failed part.
- Strip the aftermarket electronics. Unplug dashcams, radar detectors, phone chargers, alarm modules and LED retrofit drivers one at a time, driving 10–15 minutes between each test.
- Look for a second sensor inside the wheel. A sensor left behind in the tyre from a previous job will keep broadcasting and can confuse the module as it compares IDs. This happens more often than people expect.
- Check the receiver path. Antenna connection, receiver ground and connector corrosion. A loose ground produces exactly the intermittent, temperature-dependent behaviour people misdiagnose as a bad sensor.
- Use live data. Watch per-wheel IDs and signal status while driving. A wheel that drops out at the same physical location every lap is interference; one that drops out randomly is hardware.
Cause 4: Receiver, Wiring and Module Faults
If a known-good trigger tool gets no response from any wheel and pressures are correct, stop buying sensors. Check receiver power and ground, fuses, antenna integrity and connector condition first. Only after the receiver is proven good should you suspect the module that interprets the data.
Diagnostic Order — Don’t Skip Steps
| Step | Tool | Pass condition |
|---|---|---|
| 1. Gauge all four tyres | Pressure gauge | All at spec, cold |
| 2. Scan all modules | Scan tool | Note stored TPMS/body codes |
| 3. Trigger each sensor | TPMS activation tool | All four respond, plausible pressures |
| 4. Compare IDs | Scan tool live data | IDs match what the module expects |
| 5. Drive test | Live data logging | No dropouts over 20+ minutes |
| 6. Inspect receiver/antenna | Visual + meter | Clean, secure, correct ground |
Replace, Relearn, or Reprogram
Clamp-in sensors are the durable choice on performance wheels — the metal stem resists the heat and vibration that shorten snap-in sensor life. A replacement sensor must use the correct