
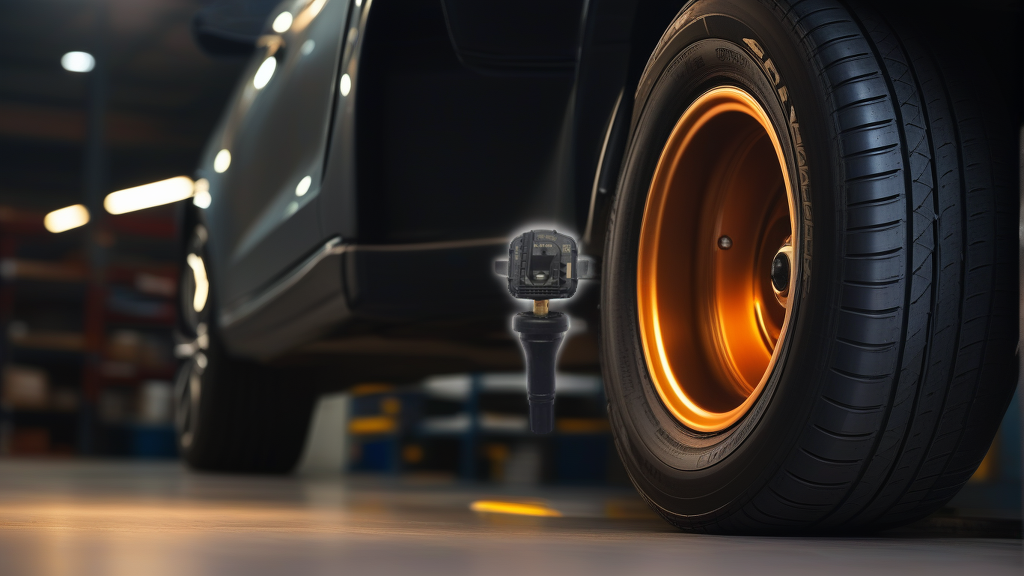
Why SAVANA TPMS Service Demands Attention
The SAVANA is not a typical passenger car. It is a full-size van — often used for commercial fleets, shuttle services, or heavy-duty towing. That means its TPMS system sees more heat cycles, higher load weights, and rougher road conditions than a standard sedan. When a SAVANA TPMS sensor fails, the warning light comes on at the worst possible moment, and the repair window is usually tight.
If you are servicing a SAVANA, you are likely dealing with a 2007–current model year vehicle using a 433MHz TPMS system. The OE sensor footprint is shared across multiple GM platform vehicles, which is why the BH-Sens BL-ST-059 (SKU: BL-ST-059) fits not only SAVANA but also Chevrolet Express, GMC Savana, Cadillac, Buick, and others. But fitment is only half the job — correct installation procedure is what keeps that sensor working for the next 5–7 years.
Torque Specs That Matter
Do not trust “hand tight” or “feel” when installing TPMS sensors on a SAVANA. The wheel rim, sensor stem, and mounting nut all have specific torque windows. Here are the three critical torque points:
| Torque Point | Recommended Range | Tool | Consequence of Over-Torque |
|---|---|---|---|
| Sensor mounting nut (to valve stem) | 4–6 N·m (35–53 in-lb) | Torque wrench (inch-lb) | Cracked sensor housing, internal PCB damage |
| Valve stem core | 0.3–0.5 N·m (hand-tight + 1/8 turn) | Stem core tool only | Leak at core, stripped threads |
| Wheel lug nuts (onto hub) | 140–160 N·m (105–120 ft-lb) | Torque wrench (ft-lb) | Warped rotor, wheel stud failure |
The sensor mounting nut is the most commonly over-torqued fastener in TPMS work. On a SAVANA, the rim is thick and the stem passes through a tight bore. If you crank that nut down with a standard 10 mm wrench, it is very easy to exceed 8–10 N·m. At that point, the plastic sensor housing around the stem base can develop hairline cracks that cause intermittent leaks. A torque wrench that reads in inch-pounds is essential here.
Wheel lug torque on a SAVANA is higher than a compact car because of the vehicle weight. Always tighten in a star pattern and re-torque after 50 km. This prevents the TPMS sensor from experiencing uneven bending stress as the wheel seat settles.
Valve Stem Service: Don’t Skip It
When you replace a TPMS sensor on a SAVANA, you should also replace the valve stem assembly — not just the sensor. Here is the logic:
- The rubber or metal valve stem is a wear item. Heat, ozone, and road salt degrade it.
- The valve stem seal (the gasket that sits between the stem and the rim) is single-use. Once compressed, it will not seal again.
- The valve core and cap are subject to debris buildup, especially on vans that operate in construction or agricultural environments.
The BH-Sens BL-ST-059 sensor ships with a new valve stem and nut. Use them. Do not reuse the old stem even if it looks acceptable. A $0.50 seal failure will cause a slow leak that brings the customer back within two weeks.
When installing the valve stem through the rim hole:
- Lubricate the stem seal with a drop of soapy water or tire lubricant — never use oil-based grease.
- Pull the stem through from the inside of the rim using a stem puller tool.
- Verify the stem is seated flush against the rim inner surface before tightening the nut.
- Torque the nut to spec (4–6 N·m) — do not use an impact gun.
Common Installation Mistakes
After years of handling SAVANA TPMS returns, these are the mistakes we see most often:
Overtightening the Sensor Nut
Already discussed above. It is the #1 cause of premature sensor failure. Use a torque wrench.
Using the Wrong Frequency
SAVANA uses 433MHz. Some aftermarket sensors are 315MHz. The BL-ST-059 is 433MHz and covers the correct range, but always verify. If you install a 315MHz sensor in a SAVANA, the vehicle will not learn it. No communication, no pressure data, just a blinking TPMS light.
Mixing OE Numbers Without Cross-Referencing
The BL-ST-059 replaces OE# 13516165, 13522631, 13540603, and several others (see full list in the product data). But if you look up a SAVANA by year alone, you might get different OE numbers depending on the trim and GVWR. Always cross-reference the original sensor’s OE number before ordering. The listing above covers the vast majority of GM 433MHz applications from 2007–2023, but double-check.
Installing Without Relearning
After installing a new TPMS sensor, the SAVANA requires a relearn procedure. This is not optional. Some vans learn automatically after driving above 25 km/h for 10 minutes. Others need a TPMS tool to activate each sensor in sequence (LF, RF, RR, LR). If you skip this step, the light stays on.
Damaging the Sensor During Tire Mounting
When mounting a tire on a SAVANA rim that already has the sensor installed, the tire machine’s head can strike the sensor body. Always position the sensor at the 12 o’clock position (opposite the tire machine head) during mounting. This is standard practice, but it gets forgotten on busy days.
Forgetting the Spare
Some SAVANA models have a fifth TPMS sensor in the spare tire. If the spare is mounted under the chassis, it can be overlooked. A low spare tire will trigger the TPMS light just like a low road tire.
Recommended Part
For a direct OE replacement that covers SAVANA and the broader GM family, use BL-ST-059 | BH-Sens 433MHz TPMS Tire Pressure Sensor | Fits BAIC, Baic Ev, Buick, Cadillac, Chevrolet & 15 More | OE# 13516165, 13522631, 13540603. It is a BH-Sens (Baolong Technology) sensor that matches the 433MHz frequency, the correct valve stem geometry, and the full set of GM OE numbers listed in the product details. No programming is required — it is auto-learn compatible with most SAVANA models from 2007 onward.
Step-by-Step Installation Sequence for SAVANA
- Remove the wheel — use a jack rated for at least 2.5 tons. SAVANA wheels are heavy.
- Deflate the tire completely — break the bead with a proper bead breaker, not a sledgehammer.
- Remove the old sensor — cut the valve stem from outside if rusted. Do not pry against the rim edge.
- Clean the rim hole — remove any corrosion or rubber debris with a wire brush.
- Install the new valve stem — lubricate the seal, pull through from the inside, torque nut to 4–6 N·m.
- Mount the tire — position the sensor at 12 o’clock, inflate to spec (check door sticker, typically 240–280 kPa for SAVANA).
- Install the wheel — torque lugs to 140–160 N·m in a star pattern.
- Relearn the sensors — use a TPMS tool or drive the vehicle at 25+ km/h for 10 minutes.
- Verify — check each tire pressure on the dashboard display. Confirm no warning light after 2 drive cycles.
FAQ
Can I install the BL-ST-059 on a 2005 SAVANA?
The BL-ST-059 is designed for 2007 and newer SAVANA models using a 433MHz TPMS system. Older SAVANA vans (2005–2006) used a different frequency and sensor protocol. Check the original sensor’s OE number before purchasing. If it matches any of the OE numbers listed (13516165, 13522631, etc.), it will work.
Why does my SAVANA TPMS light stay on after installing new sensors?
The most common causes are: (1) the sensor was not properly activated during installation, (2) the vehicle relearn procedure was not performed, or (3) the sensor frequency does not match the vehicle (315MHz vs 433MHz). Try a forced relearn using a TPMS tool. If the light remains on after three drive cycles, recheck the sensor frequency and OE compatibility.
Do I need to replace the valve stem every time I change the TPMS sensor?
Yes. The valve stem seal is compressed during installation and will not seal again if reused. The stem itself also degrades over time due to heat and ozone. Always use the new valve stem that comes with the sensor. The BL-ST-059 includes a new stem and nut.
Can I use a standard torque wrench for the sensor nut?
A standard ft-lb torque wrench is not accurate at the low torque range required for the sensor nut (4–6 N·m). You need an inch-pound torque wrench (range 0–100 in-lb). Alternatively, use a compact beam-style torque wrench designed for TPMS work. Guessing the torque by hand is the most common way to damage a TPMS sensor.