
—
Why Proper TPMS Installation Matters on Ora Vehicles
Ora (Great Wall Motor’s electric sub-brand) — models like the Ora Good Cat, Funky Cat, and Lightning Cat — use a direct TPMS system that relies on clamp-in sensors mounted inside the wheel. These sensors transmit pressure and temperature data to the vehicle’s ECU via 433MHz frequency. A sloppy installation leads to false warnings, air leaks, or sensor damage that costs you time and money.
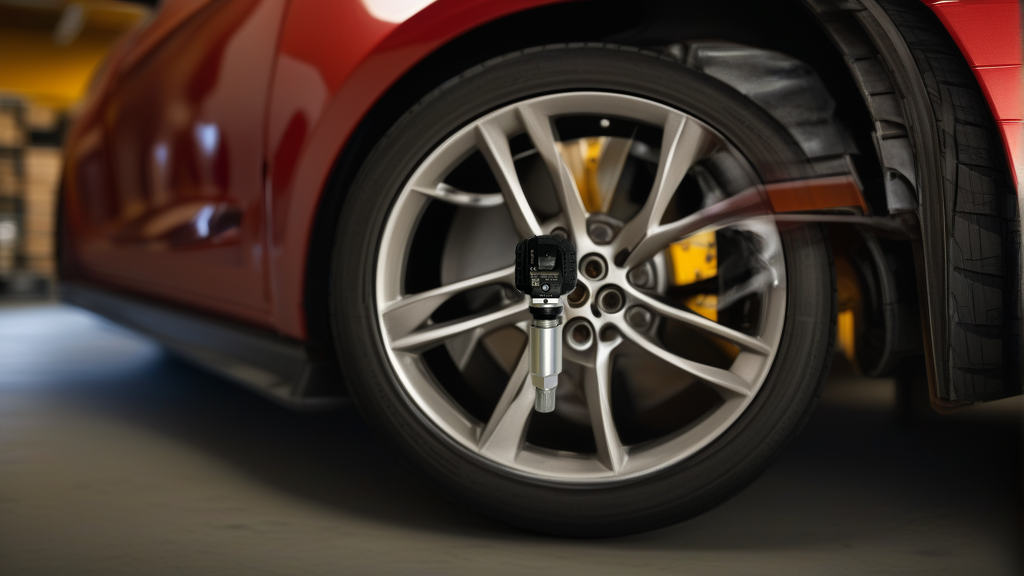
The BH-Sens BL-ST-040 (Baolong Technology) is a common aftermarket replacement for Ora models that also fits Bestune, FAW, and Hongqi. It’s pre-programmed, meaning you install it, pair it with the vehicle, and drive. But even the best sensor fails if the installation basics are ignored.
—
Installation Torque Specs: The Critical Number
Most clamp-in TPMS sensors use a 7/16”-20 UNF thread with a brass or aluminum nut. The torque window is narrow: 4.0 Nm to 5.0 Nm (35 to 44 in-lbs). Going below leaves the sensor loose — vibration, air loss. Going above cracks the plastic housing or strips the threads.
Recommended Torque Table
| Parameter | Specification |
|---|---|
| Sensor thread | 7/16”-20 UNF |
| Torque range | 4.0 – 5.0 Nm (35 – 44 in-lbs) |
| Tool type | Click-type torque wrench with 6mm hex socket |
| Risk below 4 Nm | Sensor loosens, false low-pressure alerts, rim seal leak |
| Risk above 5 Nm | Housing fracture, thread damage, sensor failure |
Important: Always check your vehicle’s service manual — some Ora variants (e.g., early Good Cat) may specify a slightly different value. When in doubt, use 4.5 Nm as the default.
—
Valve Stem Service: Don’t Skip These Steps
The valve stem is the only moving (and sealing) part of a clamp-in sensor. Three common points cause leaks:
Replace the Rubber Grommet
Every time you remove a sensor, the rubber grommet between the sensor and the rim hole is compressed and deformed. Reusing it guarantees a slow leak. Install a new grommet (often sold as part of a sensor service kit) before tightening.
Valve Core and Cap
The Schrader valve core inside the stem should be replaced with a new nickel-plated core (brass cores corrode faster). After installation, install a metal valve cap — plastic caps crack from UV and heat, leading to dirt ingress.
Metal vs. Rubber Valve Stems
Many aftermarket TPMS sensors, including the BH-Sens BL-ST-040, come with a metal valve stem by default. Metal stems are preferred for Ora vehicles because they handle higher inflation pressures (the Good Cat runs 36–42 psi) and don’t dry out like rubber. If your current sensor has a rubber stem, upgrade to metal during replacement.
—
Common Installation Mistakes (And How to Avoid Them)
1. Over-Torquing the Nut
As mentioned, this is the #1 killer of TPMS sensors. Use a torque wrench, not a ratchet or impact gun. Hand-tighten the nut first, then finish with the wrench. A common workaround: set the wrench to 4.5 Nm and you’ll hear one click — stop.
2. Cross-Threading the Sensor Nut
The soft aluminum nut can easily cross-thread against the steel sensor stem. Always start the nut by hand two full turns before applying a tool. If you feel resistance, back off and re-align.
3. Installing the Wrong Frequency
Ora uses 433MHz sensors. Some aftermarket sensors are 315MHz (common on US-market vehicles). The BH-Sens BL-ST-040 is 433MHz, making it a direct match for Ora. Double-check the frequency label before mounting.
4. Forgetting to Program the Sensor
Even though the BL-ST-040 is pre-programmed, some vehicles require a relearn procedure after sensor replacement. On many Ora models, this is automatic after driving above 25 km/h (15 mph) for 10 minutes. Others need a TPMS scan tool to trigger the sensor IDs. Follow the vehicle’s relearn procedure — don’t assume the system will recognize a new sensor instantly.
5. Using the Sensor on a Damaged Rim
If the rim hole is dented or the sealing surface is corroded, no torque value will stop a leak. Before mounting the sensor, clean the rim hole with a wire brush and inspect for cracks. Apply a drop of rubber lubricant (not tire sealant) to the grommet.
6. Mixing Up Tire Positions
If you install sensors on the wrong wheels, the dashboard will show left front pressure reading for right rear — a confusing error. Label each sensor with its intended position (LF, RF, LR, RR) before mounting. The BH-Sens BL-ST-040 is identical for all positions, but the vehicle’s ECU assigns each sensor based on its ID. You can use a TPMS tool to assign IDs post-install.
—
Step-by-Step Installation Checklist for Ora Vehicles
Follow this sequence to get it right the first time:
- Remove the wheel and deflate the tire.
- Break the bead on the sidewall where the sensor is located (usually opposite the valve stem).
- Unscrew the old sensor nut and pull the sensor out through the rim hole.
- Clean the rim hole and apply a small amount of rubber lubricant to the new grommet.
- Insert the BH-Sens BL-ST-040 sensor through the hole, stem first, grommet seated.
- Hand-tighten the nut two full turns, then torque to 4.5 Nm (40 in-lbs).
- Install a new valve core and tighten to 0.5 Nm (hand-snug). Add the metal cap.
- Mount and balance the tire. Mark the sensor position with a chalk line on the tire (for future service reference).
- Inflate to the OEM-specified pressure (e.g., 36 psi front, 38 psi rear for Ora Good Cat).
- Perform a TPMS relearn. For most Ora vehicles, drive above 25 km/h (15 mph) for 10 minutes. If the warning light stays on, use a TPMS tool to trigger each sensor.
—
Recommended Part
For a straightforward DIY or shop installation on Ora, Bestune, FAW, or Hongqi vehicles, use the BH-Sens BL-ST-040 433MHz TPMS Sensor. It’s pre-programmed to the factory frequency and fits the standard clamp-in mounting. One unit covers all four corners — just label positions during install.
—
FAQ
Can I reuse the same sensor after a tire change?
Yes, if the sensor is undamaged and the battery is still good (typically 5–7 years). However, always replace the grommet, valve core, and cap. Check the torque on the nut; it may have loosened over time.
Do I need to reprogram the BH-Sens BL-ST-040 myself?
No — it’s pre-programmed with the 433MHz frequency. But the vehicle’s TPMS module may require a relearn to recognize the sensor’s unique ID. Some Ora models do this automatically; others need a TPMS tool. Consult your owner’s manual or a dealership.
What happens if I overtighten the sensor nut?
Overtightening (above 5 Nm) often cracks the plastic sensor housing or strips the nut threads. The sensor may still transmit data, but it will leak air through the crack. Replace the sensor and nut immediately.
My Ora has a rubber valve stem. Can I switch to a metal stem?
Yes. The BH-Sens BL-ST-040 comes with a metal stem. Metal stems are more durable and less prone to cracking from UV exposure. They are recommended for all Ora vehicles, especially if you live in a hot climate or drive on rough roads.