
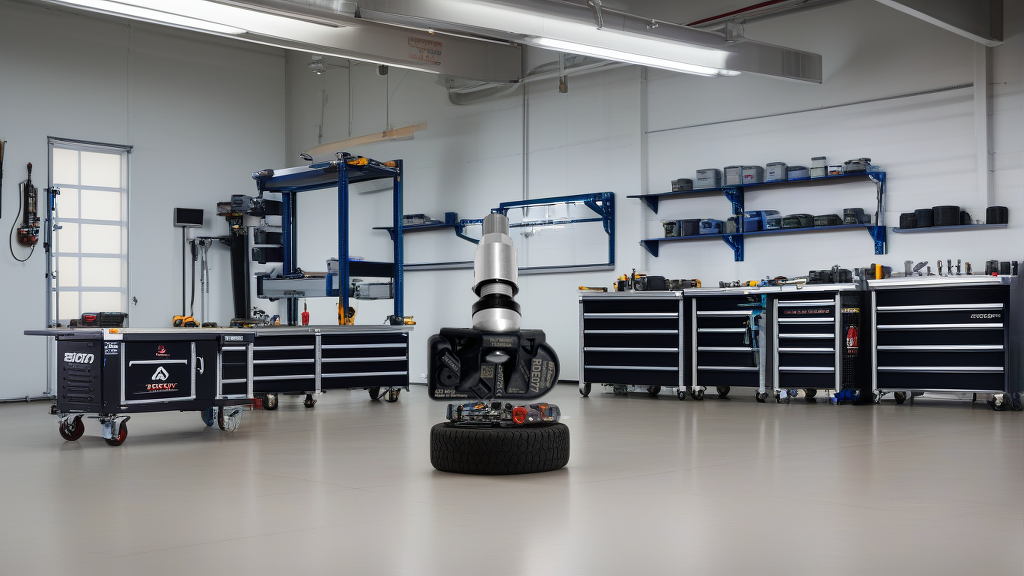
Why TPMS Sensor Installation on CLA Class Requires Precision
The Mercedes-Benz CLA Class (model years 2014-present) uses a direct TPMS system with clamp-in sensors mounted inside the wheel. Unlike some vehicles that use band-style or snap-in sensors, the CLA’s system relies on a metal valve stem that seals through the wheel rim. Getting the installation right means avoiding air leaks, sensor damage, and dashboard warnings that won’t clear.
If you’re replacing sensors on a CLA 200, CLA 250, or AMG CLA 45, the process is identical across the platform. The CLA CLASS uses the same 433MHz frequency and sensor protocol as many other Mercedes-Benz models, but the torque spec and valve service requirements are specific to this generation.
Proper Installation Torque Specs for CLA Class Sensors
The Correct Torque Range
For CLA Class clamp-in TPMS sensors, the recommended tightening torque is 35-40 Nm (26-30 lb-ft) . This applies to the hex nut that secures the valve stem to the wheel.
| Component | Torque Spec | Notes |
|---|---|---|
| Valve stem nut | 35-40 Nm (26-30 lb-ft) | Use a torque wrench calibrated in Nm |
| Sensor retaining screw (if equipped) | 2-3 Nm | Light tighten only, do not overtighten |
| Wheel lug nuts | 110-130 Nm | Check vehicle manual for exact value |
Why torque matters: Under-torquing causes air leaks from the valve stem seal. Over-torquing strips the aluminum threads on the valve stem or cracks the sensor housing. The CLA’s aluminum wheels are softer than steel, so you can easily damage the rim surface if you use an impact gun on the valve nut.
Step-by-Step Torque Procedure
- Hand-start the valve stem nut onto the sensor stem.
- Hold the sensor body steady with your other hand to prevent rotation.
- Tighten to 10 Nm with a hand wrench, then finish with a torque wrench set to 35-40 Nm.
- Never use an impact driver or air tool on the valve stem nut.
Valve Stem Service: Don’t Skip This Step
The CLA Class TPMS sensors are designed with replaceable valve stems. When you install a new sensor like the RDE077V21 | BH-Sens 433MHz TPMS Tire Pressure Sensor | Fits Aston Martin, BMW, Maybach, Mercedes-Benz, Mini & 2 More | OE# 36106872774, 42607WAA02, 5A3DC0401, you must also replace:
- The valve stem core (Schrader valve)
- The sealing gasket/O-ring at the base of the stem
- The valve cap (use metal caps, not plastic)
Why New Valve Components Matter
Old valve stems develop micro-cracks from heat cycling and ozone exposure. Reusing them with a new sensor is a common mistake that leads to slow leaks within 6-12 months. The CLA’s tires run at higher pressures (35-42 psi cold) than many sedans, so even a minor leak triggers the TPMS warning light faster.
Pro tip: Apply a small amount of rubber lubricant (not oil-based) to the valve stem O-ring before installation. This prevents the O-ring from rolling or pinching as you tighten the nut.
5 Most Common Installation Mistakes on CLA Class
1. Cross-Threading the Valve Stem Nut
The valve stem threads are fine-pitch and easily cross-threaded if you start the nut at an angle. Always start by hand and turn the nut counterclockwise 2-3 clicks until you feel the threads align, then tighten clockwise.
2. Using the Wrong Sensor Frequency
CLA Class models from 2014-2020 use 433MHz sensors. Some 2021+ models may use 315MHz or Bluetooth-based systems. Always verify the frequency before purchase. The RDE077V21 is 433MHz and fits 2014-2020 CLA models, plus many BMW and Mini vehicles.
3. Forgetting to Relearn/Recalibrate
After installing new sensors, the CLA’s TPMS module needs to learn the new sensor IDs. This process varies by model year:
- 2014-2016: Automatic relearn after driving 10-15 minutes above 25 mph
- 2017-2020: Requires a TPMS scan tool or Mercedes XENTRY/Star diagnostic to program sensor IDs
Common mistake: Installing sensors, inflating tires, then wondering why the light stays on. You must complete the relearn procedure.
4. Overtightening the Valve Nut
We see this constantly. A torque wrench set to 35 Nm feels too loose to some technicians, so they give it “just a bit more.” That extra quarter-turn strips the threads or distorts the sealing surface. Trust the torque spec.
5. Installing Sensors in the Wrong Wheel Position
CLA Class sensors are identical but must be installed in the correct corner. If you mix them up, the dashboard will show the wrong tire location when a pressure drop occurs. Mark each sensor with its intended position before installation.
Recommended Part: BH-Sens RDE077V21
For CLA Class TPMS replacement, the RDE077V21 | BH-Sens 433MHz TPMS Tire Pressure Sensor | Fits Aston Martin, BMW, Maybach, Mercedes-Benz, Mini & 2 More | OE# 36106872774, 42607WAA02, 5A3DC0401 is a direct OE-fit option. It’s a clamp-in, pre-programmed 433MHz sensor that matches Mercedes part numbers 36106872774, A0009052102, A0009054104, and others. It also fits Aston Martin, BMW, Maybach, and Mini models, making it a versatile stock item for shops working on multiple European brands.
The sensor ships with new valve stems and sealing hardware—use them. Don’t reuse the old parts.
FAQ
Can I use aftermarket TPMS sensors on my CLA Class instead of OEM Mercedes parts?
Yes, provided they are 433MHz and compatible with the CLA’s protocol. The BH-Sens RDE077V21 is a direct replacement that matches OE specifications without the Mercedes dealer markup. Just ensure you complete the relearn procedure after installation.
What happens if I over-torque the valve stem nut on a CLA TPMS sensor?
Over-torquing beyond 40 Nm can strip the aluminum valve stem threads, crack the sensor housing, or deform the sealing surface on the wheel rim. This causes immediate or gradual air loss and requires sensor replacement. Always use a torque wrench set to 35-40 Nm.
Do I need to replace the valve stem if I’m just changing tires on my CLA?
It’s strongly recommended. The valve stem O-ring and core degrade over time. Replacing them during tire changes is cheap insurance against future TPMS leaks. Many tire shops include this service for a small fee.
My CLA TPMS light is flashing after new sensor installation. What does that mean?
A flashing TPMS light (usually for 60-90 seconds after startup) indicates that the system has not learned the new sensor IDs. Drive the vehicle above 25 mph for 10-15 minutes. If the light continues flashing, you likely need a TPMS scan tool to manually program the sensor IDs into the vehicle’s module.