
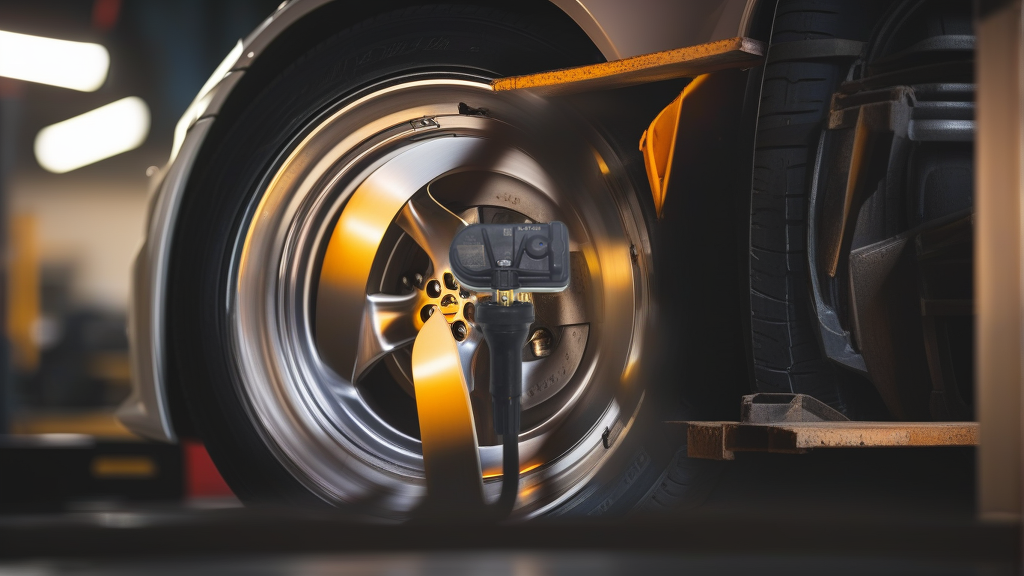
Understanding the SEAL DM-I TPMS System
The SEAL DM-I uses a direct TPMS system with clamp-in sensors mounted inside each wheel. These sensors broadcast tire pressure and temperature data at 433MHz to the vehicle’s receiver module. The BH-Sens BL-ST-028 sensor (OE# 3601010CD01, 3601010DG01, 3601010MK02) is a direct replacement part designed for this application. It comes pre-programmed with the correct ID protocol for most SEAL DM-I model years, but re-learning to the vehicle is still required after installation.
Essential Torque Specs for SEAL DM-I TPMS Sensors
Using the correct torque prevents two failure modes: stripped threads (under-torque) and sensor housing cracking (over-torque). For the SEAL DM-I, follow these values:
| Component | Torque Range | Tool | Notes |
|---|---|---|---|
| Sensor-to-valve stem nut | 35–40 in-lbs (4–0–4.5 Nm) | Torque wrench with crowfoot adapter | Do not exceed 45 in-lbs |
| Valve stem core | Hand-tight + ¼ turn | Valve core tool | Over-tightening deforms the seal |
| Wheel lug nuts | 80–100 ft-lbs (check manual) | Torque wrench | Apply to dry threads only |
Critical: Always use a new sealing washer between the sensor and the valve stem. The washer compresses during initial torque and will not seal properly on reuse.
Valve Stem Service: What to Replace and What to Keep
When servicing a SEAL DM-I TPMS sensor, treat the valve stem assembly as a consumable item. Here’s the breakdown:
Replace every time:
- Valve stem core (rubber seal degrades over time)
- Sealing washer (single-use compression)
- Valve stem cap (corrosion risk)
Inspect and replace if damaged:
- Rubber grommet inside the wheel hole
- Metal valve stem body (check for cracks or bending)
Keep (if in good condition):
- Sensor body itself (the BL-ST-028 is designed for multiple tire changes)
- Clamp-in nut (can be reused if threads are clean and not stripped)
A common shortcut is to only swap the sensor and leave the old valve stem core. This causes slow leaks within 2–4 weeks. For the SEAL DM-I, where the TPMS module is sensitive to rapid pressure drops, a leaking valve stem triggers a false low-pressure warning even when the tire is fine.
Common Installation Mistakes (and How to Avoid Them)
Mistake 1: Overtightening the Clamp-In Nut
Technicians often use a ratchet “until it feels tight.” On the SEAL DM-I wheel, the aluminum sensor housing strips at around 50 in-lbs. Use a torque wrench set to 35–40 in-lbs. If you don’t have one, finger-tighten the nut, then add a 90-degree turn with a wrench—but this method is less precise.
Mistake 2: Installing Without Re-Learning
The BL-ST-028 is pre-programmed, but the SEAL DM-I ECU still needs to recognize its unique ID. After installation, you must initiate a TPMS re-learn procedure. On most SEAL DM-I models, this is done by:
- Turning the ignition to ON (engine off).
- Pressing the TPMS reset button (under the steering column or in the glove box) for 3 seconds.
- Using a TPMS trigger tool to activate each sensor in sequence (LF, RF, RR, LR).
- Waiting for the horn to confirm each sensor.
Skipping this step means the dashboard light will stay on, even with correct pressure.
Mistake 3: Mixing Sensor Frequencies
The SEAL DM-I uses 433MHz only. Some aftermarket sensors are dual-frequency (315/433MHz) but default to 315MHz. If you install a 315MHz sensor, the vehicle will not detect it. Always confirm the sensor frequency matches the OE spec. The BL-ST-028 is fixed at 433MHz.
Mistake 4: Ignoring the Wheel Position Label
Each sensor is marked with a position (LF, RF, RR, LR) during manufacturing. Installing a “LF” sensor on the right rear forces the ECU to learn it as a different position, which works but requires extra programming steps. To save time, install sensors in their labeled positions.
Recommended Part for SEAL DM-I
For a direct-fit replacement that matches OE specifications (433MHz, clamp-in design, pre-programmed ID), use the BL-ST-028 | BH-Sens 433MHz TPMS Tire Pressure Sensor | Fits Avatr, Changan, Deepal, Mazda, Nevo & 1 More | OE# 3601010CD01, 3601010DG01, 3601010MK02. This sensor fits the SEAL DM-I as well as Avatr, Changan, Deepal, Mazda, and Nevo models. It comes with a new valve stem core and sealing washer in the box—do not substitute with generic hardware.
FAQ
How do I know if my SEAL DM-I TPMS sensor is faulty?
If the dashboard TPMS warning light stays on after inflating tires to the correct pressure (typically 33–35 psi cold), a sensor is likely dead or has a dead battery. Use a TPMS diagnostic tool to read each sensor’s signal strength and battery voltage. Sensors with battery voltage below 2.4V should be replaced immediately.
Can I install the BH-Sens BL-ST-028 sensor myself without special tools?
Yes, but you will need a torque wrench (for the clamp-in nut), a valve core tool, and a TPMS trigger tool for re-learning. Tire shops often charge $20–$40 per wheel for installation, which includes mounting, balancing, and programming. If you DIY, budget for the trigger tool ($30–$60).
What happens if I use the wrong torque on the clamp-in nut?
Under-torque (below 30 in-lbs) leaves the sensor loose inside the wheel, causing rattling and a potential air leak at the valve stem. Over-torque (above 45 in-lbs) can crack the sensor housing, ruining the $50–$80 sensor. Both scenarios require removing the tire again.
Does the SEAL DM-I require any special sensor programming for aftermarket wheels?
No. The TPMS system reads the sensor ID regardless of wheel brand. However, aftermarket wheels with thicker valve stem holes may require different rubber grommets. Use the grommet that comes with the BL-ST-028 sensor—it’s designed for standard 11.5mm wheel holes. If your aftermarket wheel has a 13mm hole, you’ll need a step-down adapter bushing.