
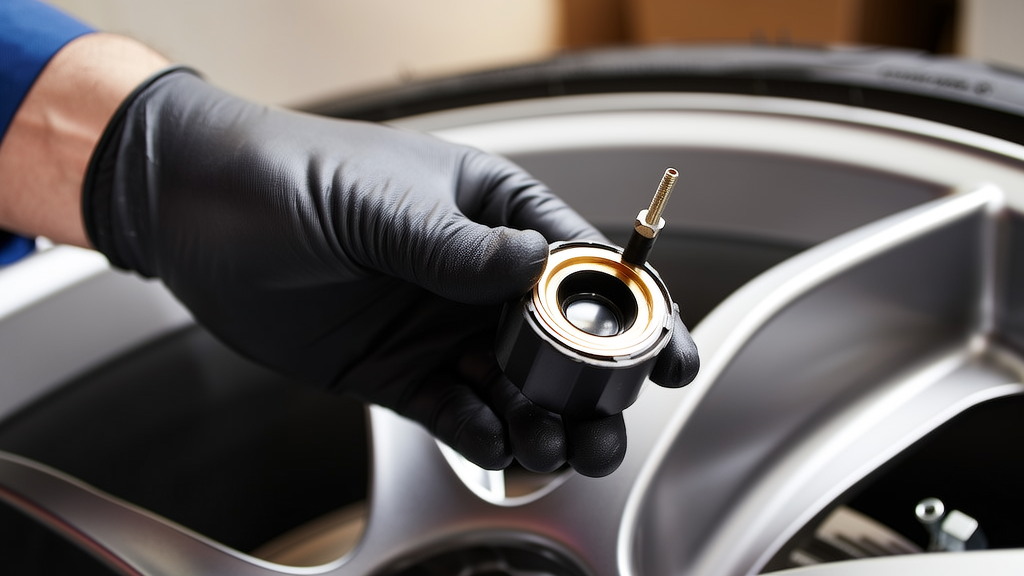
Start With Fitment, Not With the Tire Machine
A TPMS sensor that looks identical to the old one can still be the wrong part. Frequency and valve type have to match, and the OE number is the only reliable way to confirm it.
On a SPECTRE, pull the old sensor or read the part number off the wheel before you order anything. A sensor with a 315MHz body won’t talk to a 433MHz receiver no matter how clean the install is, and a rubber-snap-in sensor won’t fit a wheel drilled for a clamp-in stem.
BL-ST-066 | BH-Sens 433MHz TPMS Tire Pressure Sensor | Fits Fengon, Ineos, Infiniti, Mitsubishi, Nammi & 4 More | OE# 3641050RD01, 407002GL0A, 407002GN0A is a clamp-in 433MHz unit from BH-Sens (Baolong Technology) that crosses to a long list of OE references, which makes it a practical stocking part for mixed Asian and European inventory — but cross-check the number before it goes in the wheel.
| Spec | Detail |
|---|---|
| Brand | BH-Sens (Baolong Technology) |
| Frequency | 433 MHz |
| Valve type | Clamp-in (metal stem, nut, grommet, washer) |
| OE references | 3641050RD01, 407002GL0A, 407002GN0A, 407002GX0A, 407002JD0A, 407003VU0A, 407004CB0A, 407004CB0B, 407005663R, 407006UA0A |
| Stem nut torque | Typically ~4–6 Nm (≈35–53 in-lb) — confirm in your service manual |
| Valve core torque | ~0.25–0.4 Nm |
| Service kit | Replace nut, washer and grommet at every tire change |
Torque: The Number Matters Less Than the Method
Ask five techs for a clamp-in TPMS torque spec and you’ll get five numbers. The safe approach is to work in the range printed on the sensor packaging or in the service manual, and to follow a method that doesn’t distort the sealing grommet.
Stem nut
- Hand-thread the nut first. If it fights you, the stem is cross-threaded or the hole is dirty — stop and start over.
- Hold the sensor body steady so it doesn’t twist against the rim.
- Torque in two stages (roughly half spec, then full spec) with a calibrated inch-pound or low-range Nm wrench.
- Never run a stem nut down with an impact gun. It’s the fastest way to stretch the stem, crush the grommet, and create a leak that shows up two weeks later as a slow loss at the valve.
Valve core
Seat the core lightly. A quarter-turn past contact is usually enough. Over-tightening deforms the core seal and makes future service miserable.
Valve Stem Service: Replace the Whole Kit
The sensor is reusable; the rubber isn’t. Heat, ozone, road salt and tire sealant all attack the grommet, and a grommet that has already taken a set won’t seal again reliably once you unbolt it.
Every time a clamp-in sensor comes off a wheel:
- Discard the nut, washer and grommet. Fit a new service kit.
- Clean the valve hole in the rim with a lint-free cloth. Any corrosion or old rubber left behind becomes a leak path.
- Fit the grommet dry or with the lubricant specified by the sensor maker. Petroleum-based grease will swell the rubber — keep it away.
- Check the grommet seats flat against the rim with no pinching, and that the sensor body sits square to the barrel, not cocked.
- Air the tire up, then leak-test the stem with soapy water before the wheel goes back on the car.
A five-dollar service kit is cheaper than a second dismount.
Common Installation Mistakes
- Beating up the sensor during mounting. Keep the drop-center and bead breaker away from the valve stem. Index the tire so the sensor sits opposite the mounting head, and use a machine with a plastic or protected shoe.
- Reusing the old nut and grommet to save two minutes, then chasing a slow leak.
- Skipping the relearn. Some vehicles auto-learn after a drive cycle; plenty don’t. Know which one is in front of you before the customer does.
- Mixing frequencies. 315MHz and 433MHz sensors are not interchangeable, and aftermarket multi-frequency tools won’t fix a hardware mismatch.
- Forgetting the spare or the second set. A car with a full-size spare sensor will still throw a light if that one is dead.
- Dropping the sensor. These aren’t fragile, but a hard hit on concrete can crack the housing or damage the PCB. If it’s been dropped, treat it as suspect.
- Not writing down the sensor IDs. Ten seconds with a photo of the IDs saves a diagnostic hour later.
After the Wheel Goes Back On
Torque the wheel to the vehicle spec, then activate or relearn the sensor per the service procedure. Confirm each position reads on the scan tool or the dash, and note that pressures may need a short drive to update on some systems. Check the stem one more time with soapy water at the finished pressure — the wheel is still accessible, and it’s the last cheap chance to catch a leak.
Recommended Part
For 433MHz clamp-in applications, the BH-Sens BL-ST-066 covers a broad OE cross-reference list and ships with the metal stem design that takes a proper torque spec rather than a push-in fit. Keep a handful of service kits on the shelf next to it: BL-ST-066 | BH-Sens 433MHz TPMS Tire Pressure Sensor | Fits Fengon, Ineos, Infiniti, Mitsubishi, Nammi & 4 More | OE# 3641050RD01, 407002GL0A, 407002GN0A.
FAQ
Do I need to reprogram a new TPMS sensor after installation?
Usually yes. Some sensors arrive pre-programmed to the correct protocol and will auto-learn after a drive cycle, but many vehicles require an activation tool or a scan-tool relearn to register the new IDs. Check the procedure for the specific model before you assume it will sort itself out.
Can I reuse the old valve stem and nut with a new sensor?
The sensor body can be reused if it’s healthy, but the nut, washer and grommet should be replaced any time the assembly is loosened. Used rubber has already taken a compression set, and re-torquing it is a common source of slow leaks.
Why is my TPMS light still on after installing a new sensor?
Three usual suspects: the sensor was never activated or relearned, the frequency or protocol doesn’t match the vehicle, or there’s a second bad sensor or a receiver fault elsewhere on the car. Scan all four positions before condemning the new part.
How tight should a clamp-in TPMS valve nut be?
Most clamp-in sensors land in the 4–6 Nm (≈35–53 in-lb) range, but the exact figure varies by manufacturer and rim type. Use a calibrated low-range torque wrench, torque in two stages, and confirm the spec in the service manual rather than guessing.