
The WHALE brand—covering models from Aeolus, Eπ, Mhero, Nammi, and Voyah—uses a clamp-in style TPMS sensor that is robust but unforgiving if installed incorrectly. Most comeback complaints (slow leaks, “TPMS Fault” warnings, sensors that break during removal) trace back to a handful of installation mistakes. This guide walks through the practical steps and torque specs a technician should follow, plus the service details that keep these sensors alive for their full service life.
Understanding the BL-ST-039 Sensor
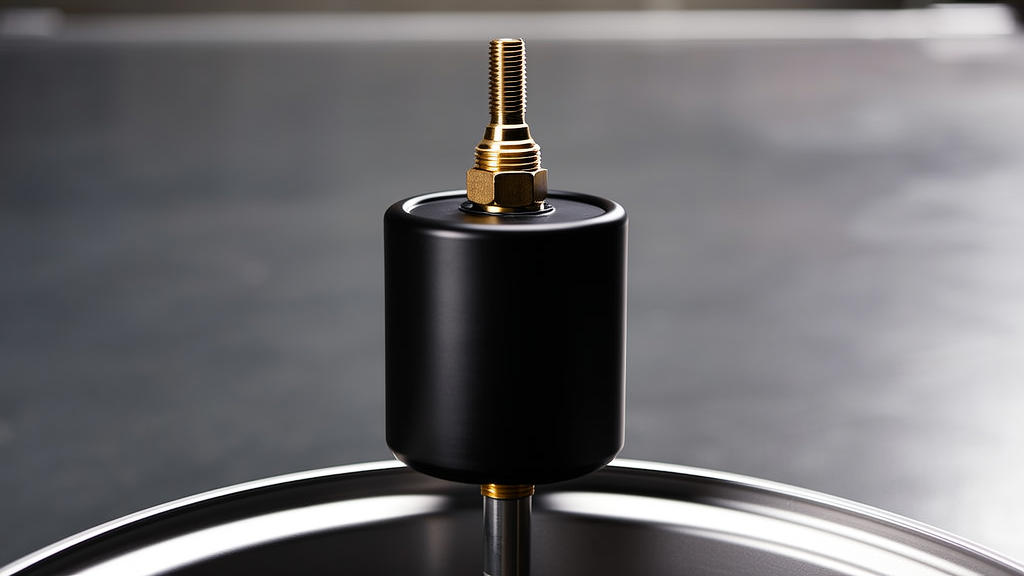
The BL-ST-039 | BH-Sens 433MHz TPMS Tire Pressure Sensor | Fits Aeolus, Eπ, Mhero, Nammi, Voyah | OE# E300019160, E300020260, H56A7920001AC is a BH-Sens (Baolong Technology) 433MHz pre-programmed sensor designed for dedicated OE fitment on WHALE vehicles. It is a clamp-in type, meaning the valve stem is secured to the rim with a nut rather than being pulled through like a snap-in rubber stem.
Key specifications:
| Feature | Detail |
|---|---|
| Brand | BH-Sens (Baolong Technology) |
| Frequency | 433 MHz |
| OE Numbers | E300019160, E300020260, H56A7920001AC |
| Type | Clamp-in, pre-programmed |
| Compatibility | Aeolus, Eπ, Mhero, Nammi, Voyah (WHALE) |
Because the sensor is pre-programmed with the correct protocol for these vehicles, no relearn tool is required in most cases—the vehicle will recognize it after a short drive. That said, installation quality determines whether the sensor performs as designed.
Installation Torque: What Actually Matters
Torque values are the most common source of confusion, and the most common cause of failure. Two fasteners matter on a clamp-in sensor:
- The valve stem nut – secures the stem to the rim.
- The sensor-to-stem screw – attaches the sensor body to the valve stem.
Valve Stem Nut
Exact values vary by rim design and stem manufacturer. In practice, most clamp-in TPMS stems fall in the 4–7 Nm range. Tighten in a smooth, steady motion with a calibrated torque wrench—do not use an impact gun. Over-tightening crushes the rubber grommet, which causes a slow leak and eventually cracks the stem. Under-tightening allows the stem to shift and leak at the base.
Always check the vehicle’s service manual or the stem manufacturer’s specification for the exact figure. If no spec is available, start at the lower end of the range and verify with a soapy water test.
Sensor-to-Stem Screw
This small screw typically calls for 1.5–3 Nm. It is easy to strip the threads or crack the sensor housing if you overtighten. Use a small torque wrench or a screwdriver-style torque limiter.
Wheel Nut Torque (for context)
After mounting, torque the wheel nuts to the vehicle’s specified value—usually in the 110–140 Nm range for passenger vehicles. Re-check after 50–100 km, as seating can loosen the nuts slightly.
Valve Stem Service: Replace, Don’t Reuse
The valve stem and its seals are wear items. Every time a tire is dismounted, the following should be replaced:
- Rubber grommet/seal at the rim
- Valve core
- Valve cap (use a metal or sealed plastic cap, not a loose plastic one)
Reusing a compressed grommet is a guaranteed slow leak. The seal takes a set once torqued and will not reseal reliably after removal. Kits are inexpensive; comebacks are not.
When servicing, inspect the stem for corrosion or cracks—especially on vehicles driven in coastal or winter-salt regions. Replace the entire stem assembly if there is any doubt.
Common Installation Mistakes
1. Over-Tightening the Stem Nut
The number one mistake. It deforms the grommet, causing leaks and sometimes cracking the stem body. Use a torque wrench, every time.
2. Forgetting the Valve Core
A missing or loose core is a fast leak and a quick TPMS warning. Torque the core to the stem manufacturer’s spec (typically around 0.25–0.45 Nm) and verify with soapy water.
3. Damaging the Sensor During Tire Mounting
The sensor sits close to the rim edge. Tire irons and mounting machines can strike the sensor body. Use a mounting machine with a disciplined bead path, and keep the sensor clear of the drop center during demounting.
4. Mixing Up Sensor Positions
Even pre-programmed sensors need to be in the correct corner for the vehicle to display pressures correctly. Mark positions before dismounting, and confirm the vehicle’s relearn procedure—many WHALE models auto-learn after a short drive, but some require an OBD or manual trigger.
5. Skipping the Soapy Water Test
Always spray the stem base and core after installation. A 30-second check catches the majority of leaks before the wheel goes back on the car.
6. Using the Wrong Cap
A corroded or missing cap allows moisture and dirt into the core, leading to slow leaks and corrosion. Use the cap supplied with the stem kit.
Recommended Part
For WHALE vehicles—Aeolus, Eπ, Mhero, Nammi, and Voyah—the BL-ST-039 | BH-Sens 433MHz TPMS Tire Pressure Sensor | Fits Aeolus, Eπ, Mhero, Nammi, Voyah | OE# E300019160, E300020260, H56A7920001AC is a direct-fit, pre-programmed 433MHz clamp-in sensor with OE numbers E300019160, E300020260, and H56A7920001AC. It is the correct choice for replacement or spare stock, provided installation follows the torque and service practices above.
FAQ
What torque should I use for the WHALE TPMS valve stem nut?
Most clamp-in stems call for 4–7 Nm, but the exact figure depends on the rim and stem design. Always confirm in the vehicle’s service manual or the stem kit instructions. Use a calibrated torque wrench—never an impact gun—and verify with a soapy water test.
Can I reuse the valve stem when replacing the sensor?
No. The rubber grommet and seals take a set once torqued and will not reseal reliably. Replace the grommet, valve core, and cap every time the tire is dismounted. Reusing them is the most common cause of slow leaks after TPMS service.
Does the BL-ST-039 sensor need to be programmed or relearned?
It is pre-programmed for WHALE-compatible vehicles, so in most cases the vehicle will recognize it automatically after a short drive. Some models may require a manual or OBD relearn—check the vehicle’s owner’s manual or service procedure to confirm.
Why does my TPMS light stay on after installing a new sensor?
Common causes include an incorrect sensor position (front vs. rear), a missed relearn step, a leaking stem, or a sensor that was damaged during mounting. Verify torque, perform the soapy water test, confirm the relearn procedure, and check that the sensor is seated correctly before replacing anything.